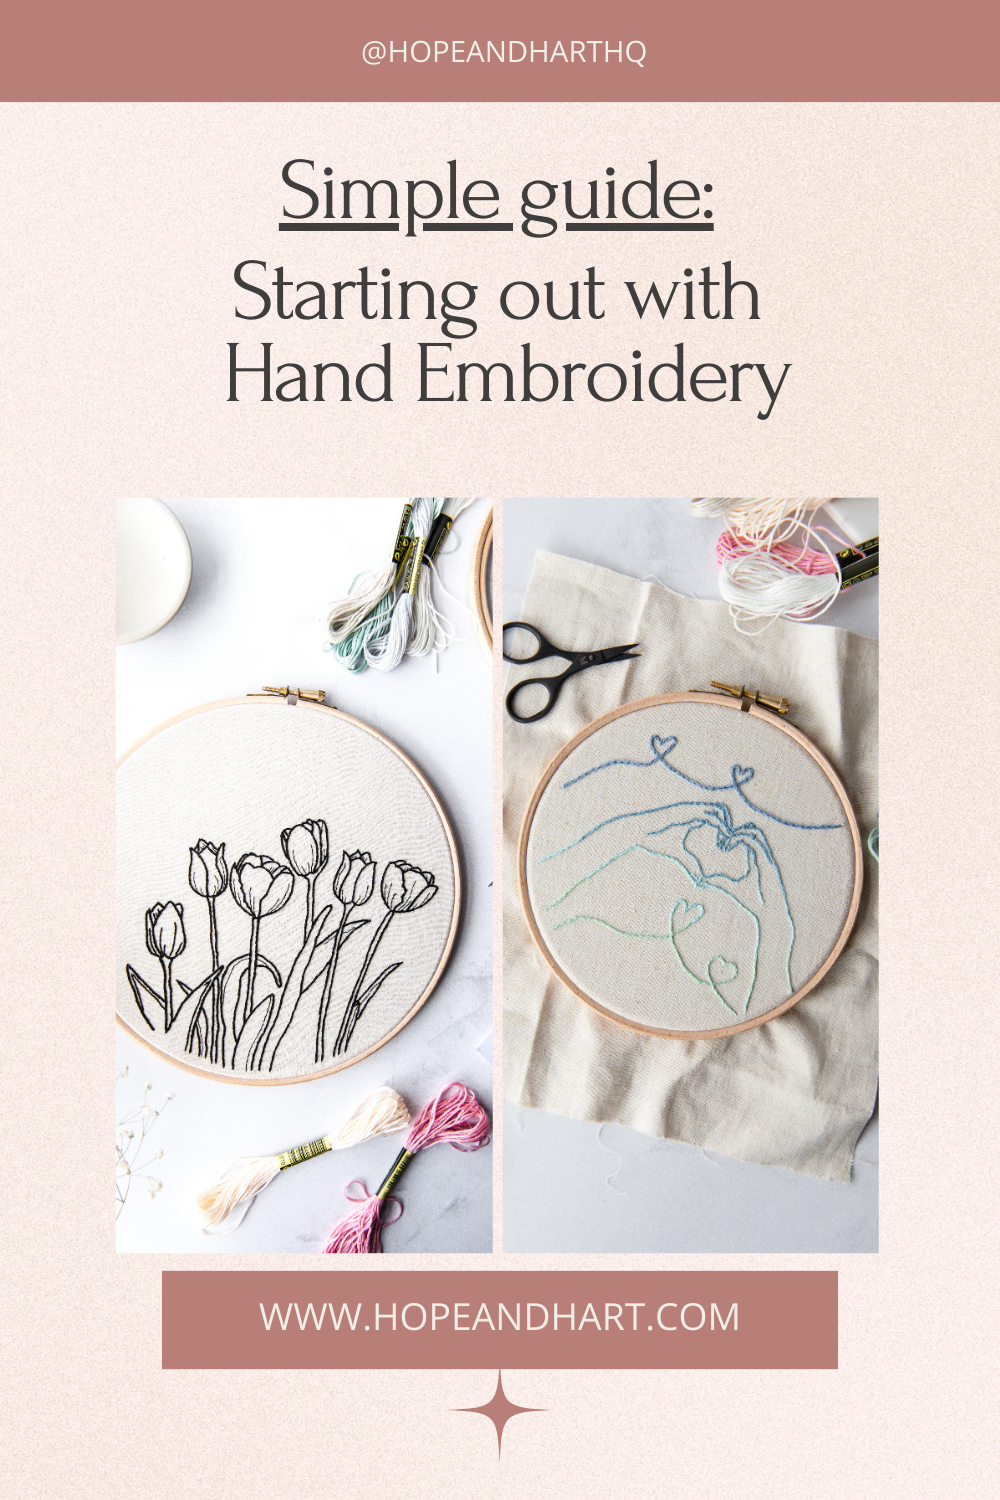
Simple guide Starting out with Hand Embroidery
I’m so glad you have decided to try out hand embroidery.
Getting started doesn’t have to be difficult or overwhelming. Follow along below with my very simple steps by steps and you will be sewing in know time.
In this post you will learn the following:
– How to set up and embroidery hoop
– How to split your embroidery floss
– How to easily thread your needle.
How to use an embroidery hoop?
Step 1
Start with the smaller of the two hoops on a flat surface. Place your fabric over the hoop making sure it’s placed in the middle, with an even amount of fabric all around the edge. When you are happy with the placement, take the second hoop with the screw on the top and place it over the fabric (make sure the screw is loose enough to allow you to push it on with ease). Now that you have both hoops together with your fabric in between you can now create some tension on the fabric to make it easier to sew.
Step 2
To create some tension, tighten the screws at the top of the embroidery hoop. When you feel it is tight enough gently start to pull the excess fabric around the hoop. Make sure you check every so often the hope is still secure, or it will move out of place and the process will have to be started again.
Step 3
You will know when the fabric is tight enough by tapping the fabric, if it sounds a bit like a drum it ready. If not keep adding tension until you are happy.
Now your embroidery hoop is ready to start sewing onto.
How to use split your Embroidery Floss?
Start by cutting a length of floss about 60cm is good to start with.
Step 1.
Count how many strands of floss you need a separate them into two sections.Try to make sure the strands you have in each section follow in the same direction or when you try and split them, they may get tangled and start to knot.
Step 2.
Once you have your two sections, hold onto the one with more strands with your dominant hand, with the other hand slowly pull the remaining floss in one go upwards. The threads will start to gather at the bottom as your pulling don’t panic this is normal.
Once the strands you need have been released, the other section will start to straighten up. You can encourage the strands to go back into place by holding the floss at one end and gently stoking it in a downward motion till it’s in place again.
How to easily thread your needle?
Step 1
Dampen the end of your floss slightly and with your fore finger and thumb press the floss end together, so it sticks and becomes flatter.
(Having the floss all separated while you’re trying to thread it will be frustrating and you will want to stop)
A Handy Tip- If you hold the floss close to the end this will make it easier to thread as you will have more control.
Step 2
Taking your needle line up the floss with the eye of the needle (the hole), and gentle push the floss through.
When the embroidery floss is through the eye of the needle, pull the floss through further so it won’t slip out, I would recommend around 10cm – 15cm to begin with.
Now you’re ready to start sewing.


