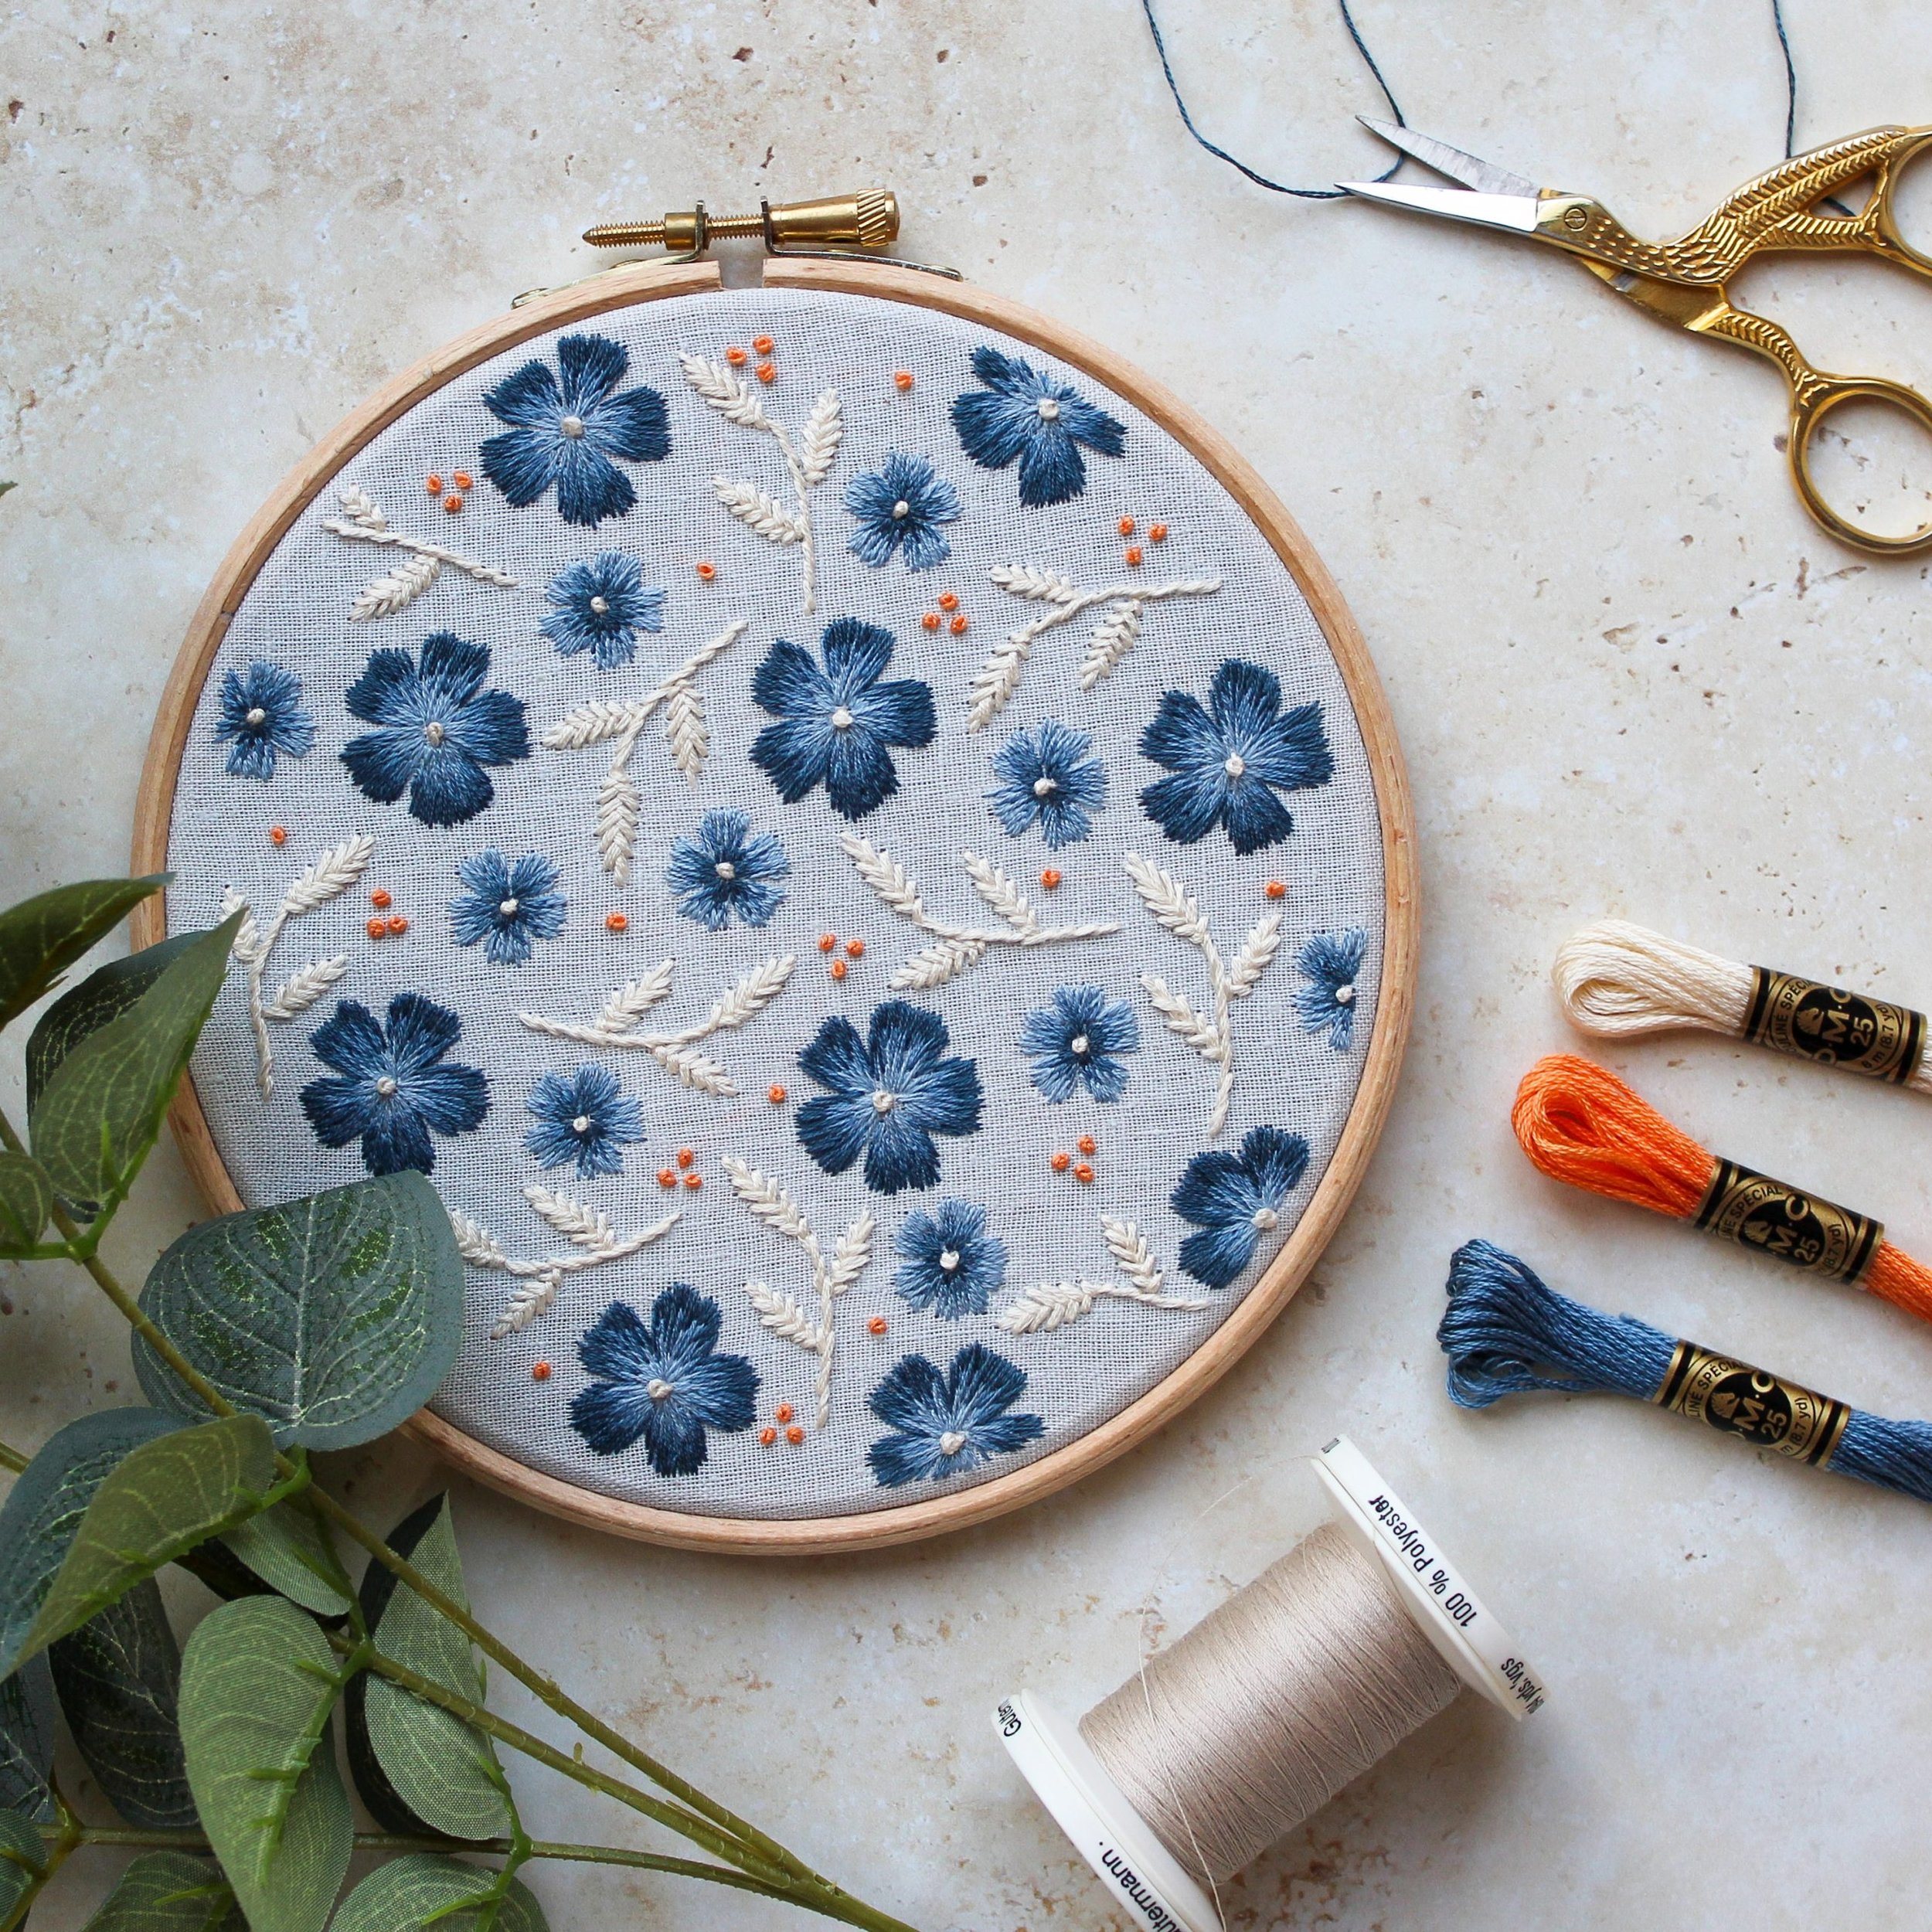
How do you use an embroidery hoop?
Putting together an embroidery hoop shouldn’t be a very daunting task.
It is essentially squeezing fabric in between two hoops. See.. Sounds easy right?
The most important thing to remember is to make sure that your fabric stays taught to enable you to sew onto it with ease.
Prefer step-by-step images?
No problem, keep scrolling for the tutorial.
1.
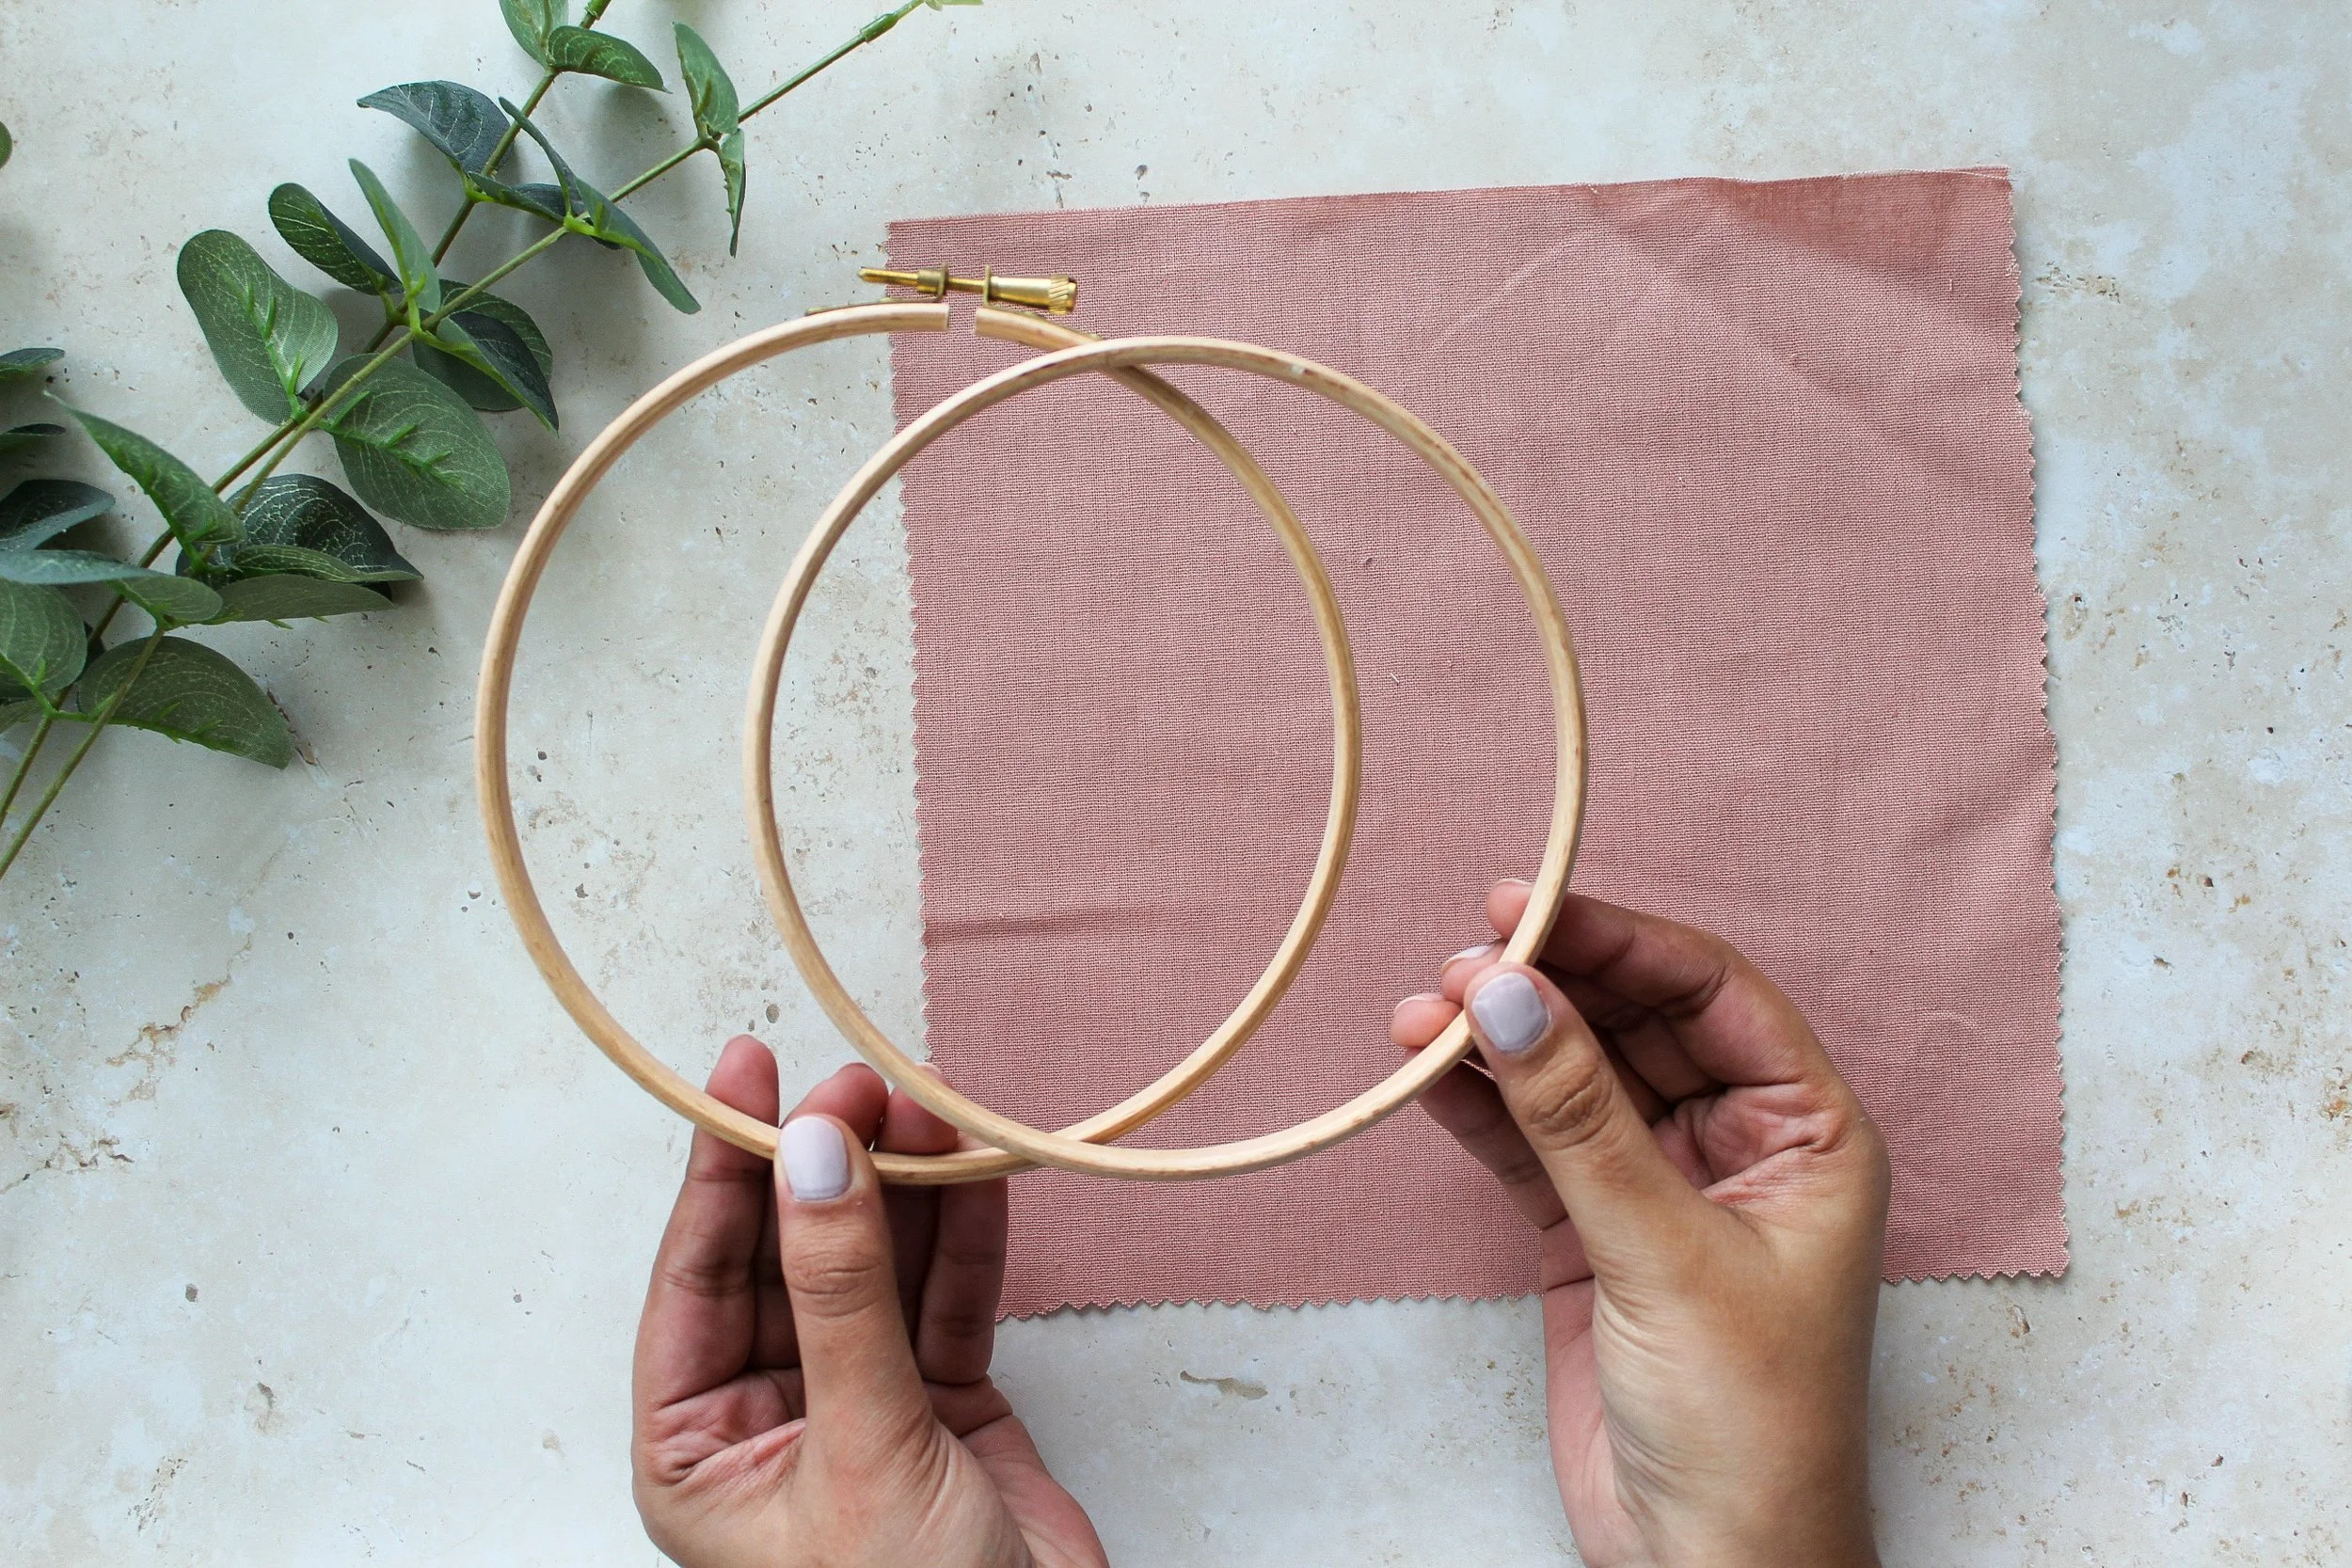
Start off with your embroidery hoop and fabric. Cut your fabric so it hangs over the hoop with at least an inch to spare.
2.
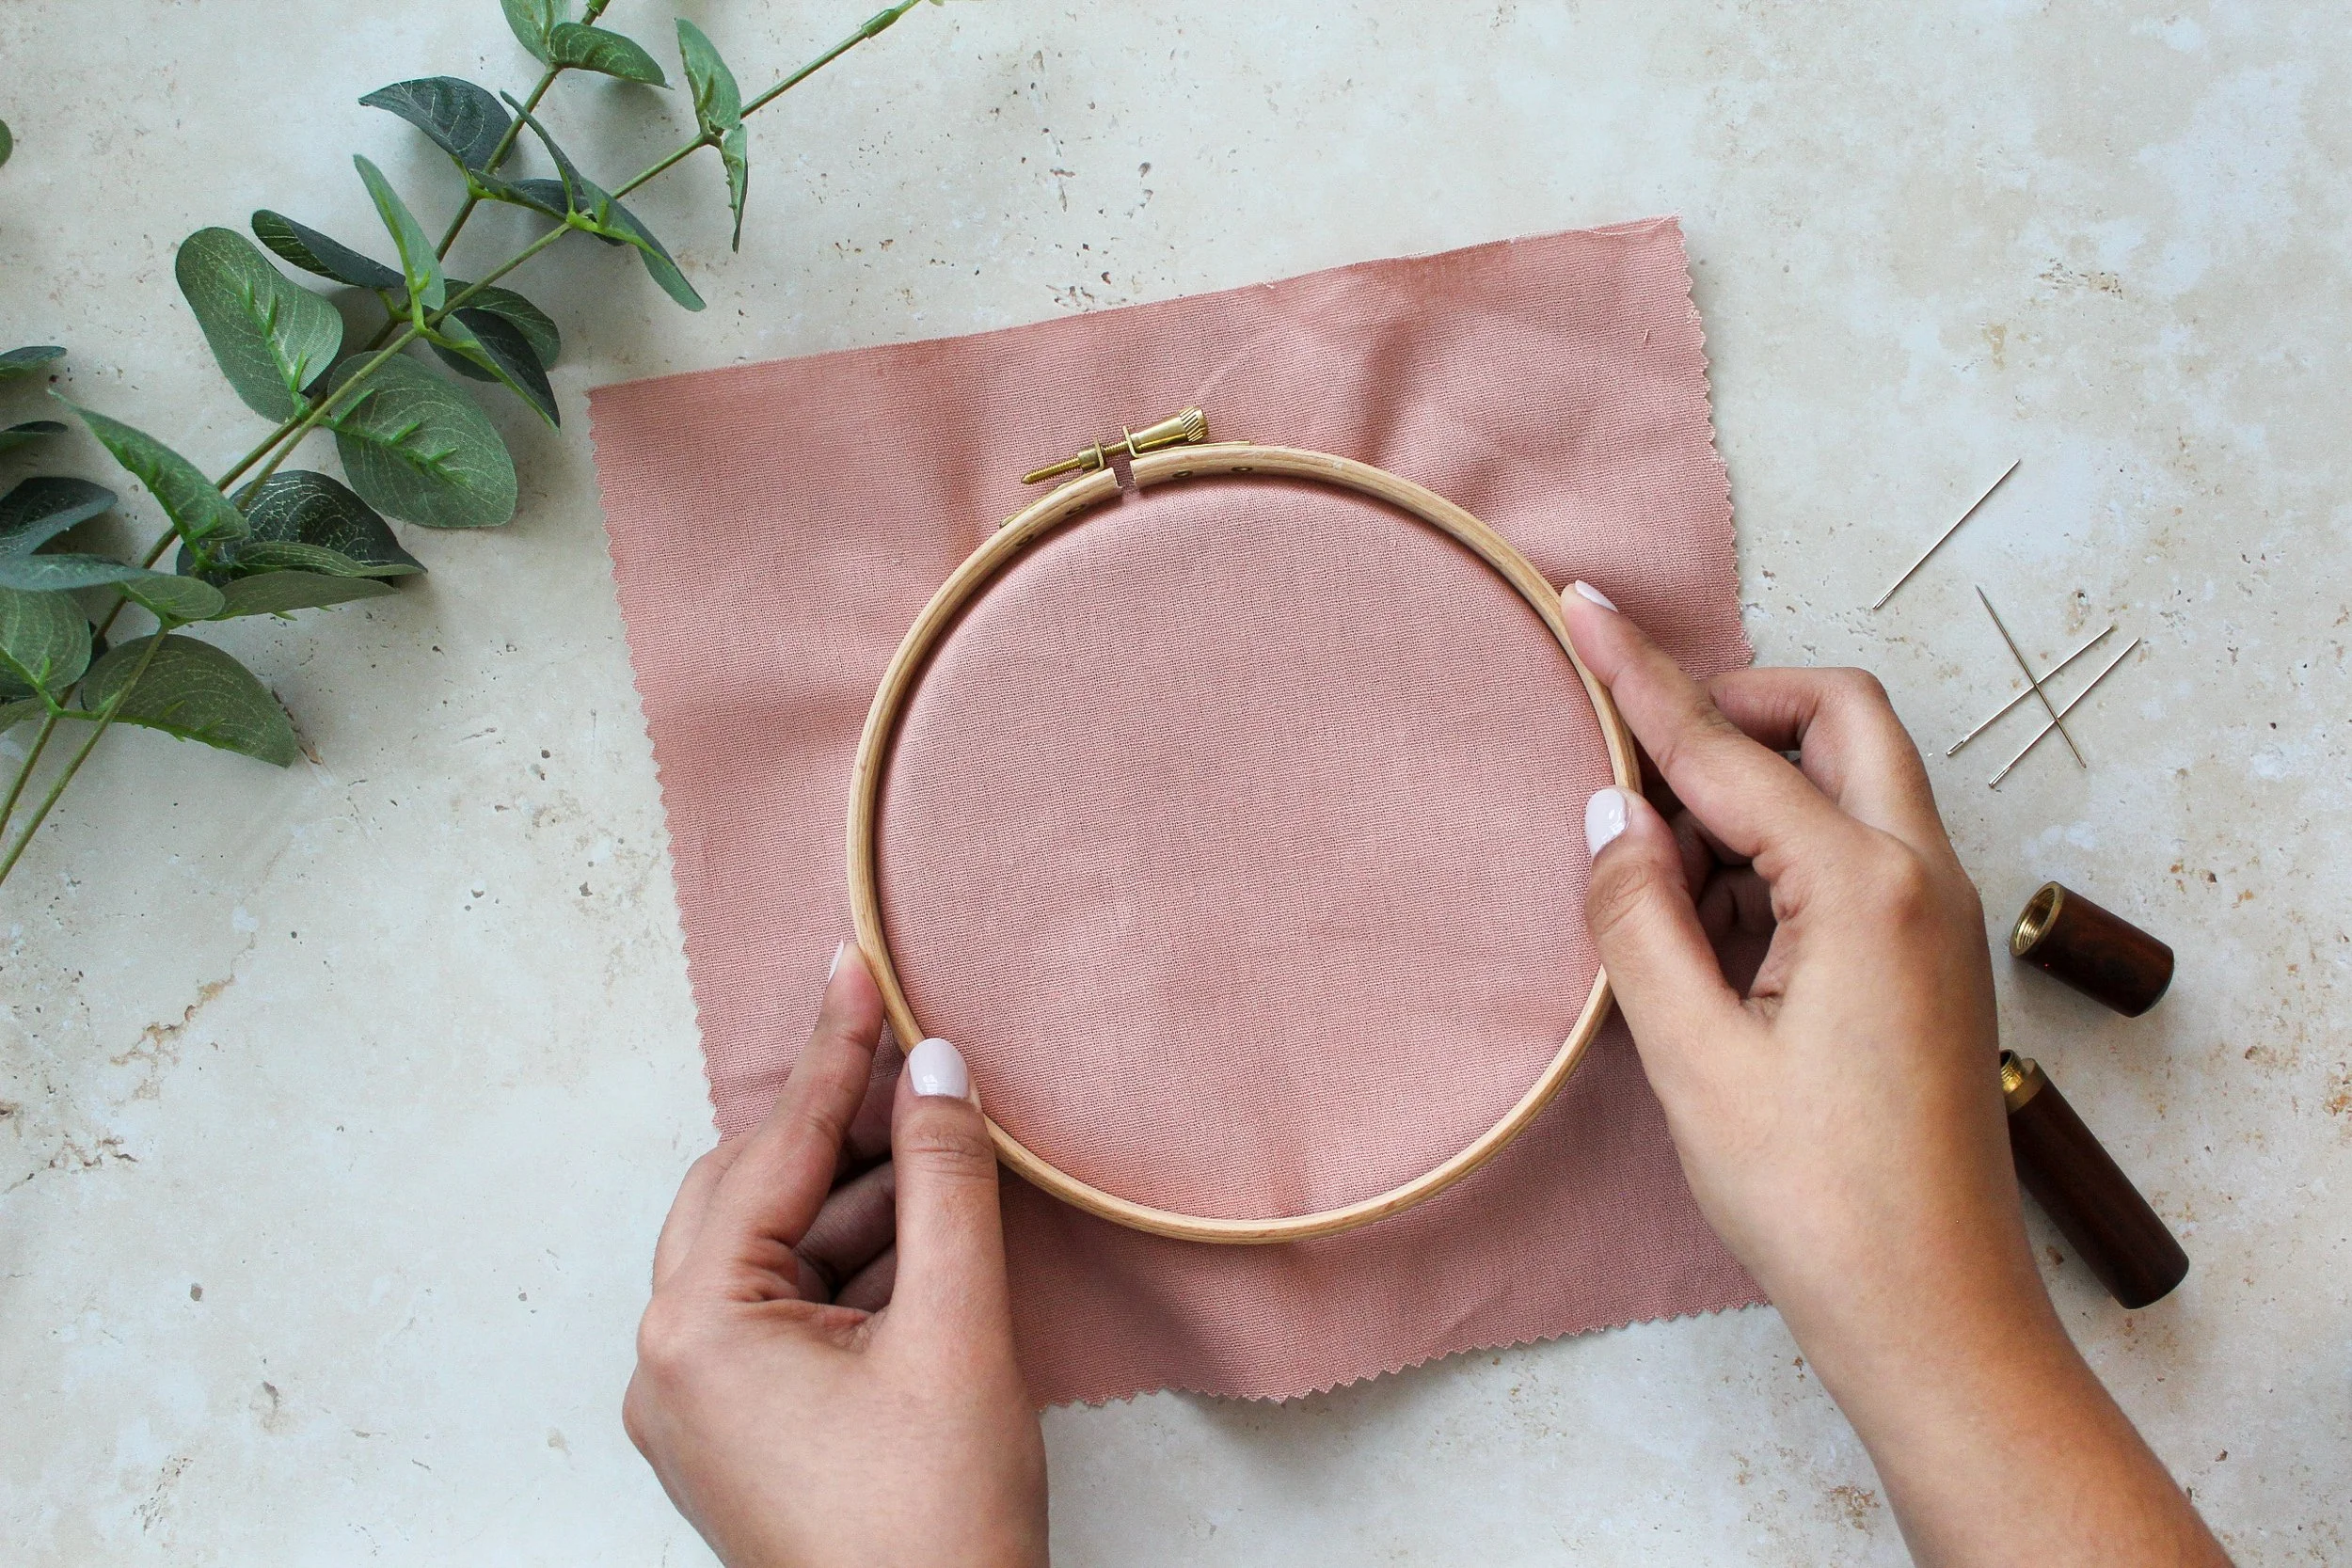
Place the smaller hoop on a flat surface. Place your material on top and then place the larger hoop over the fabric and press down so the two hoops match again.
3.
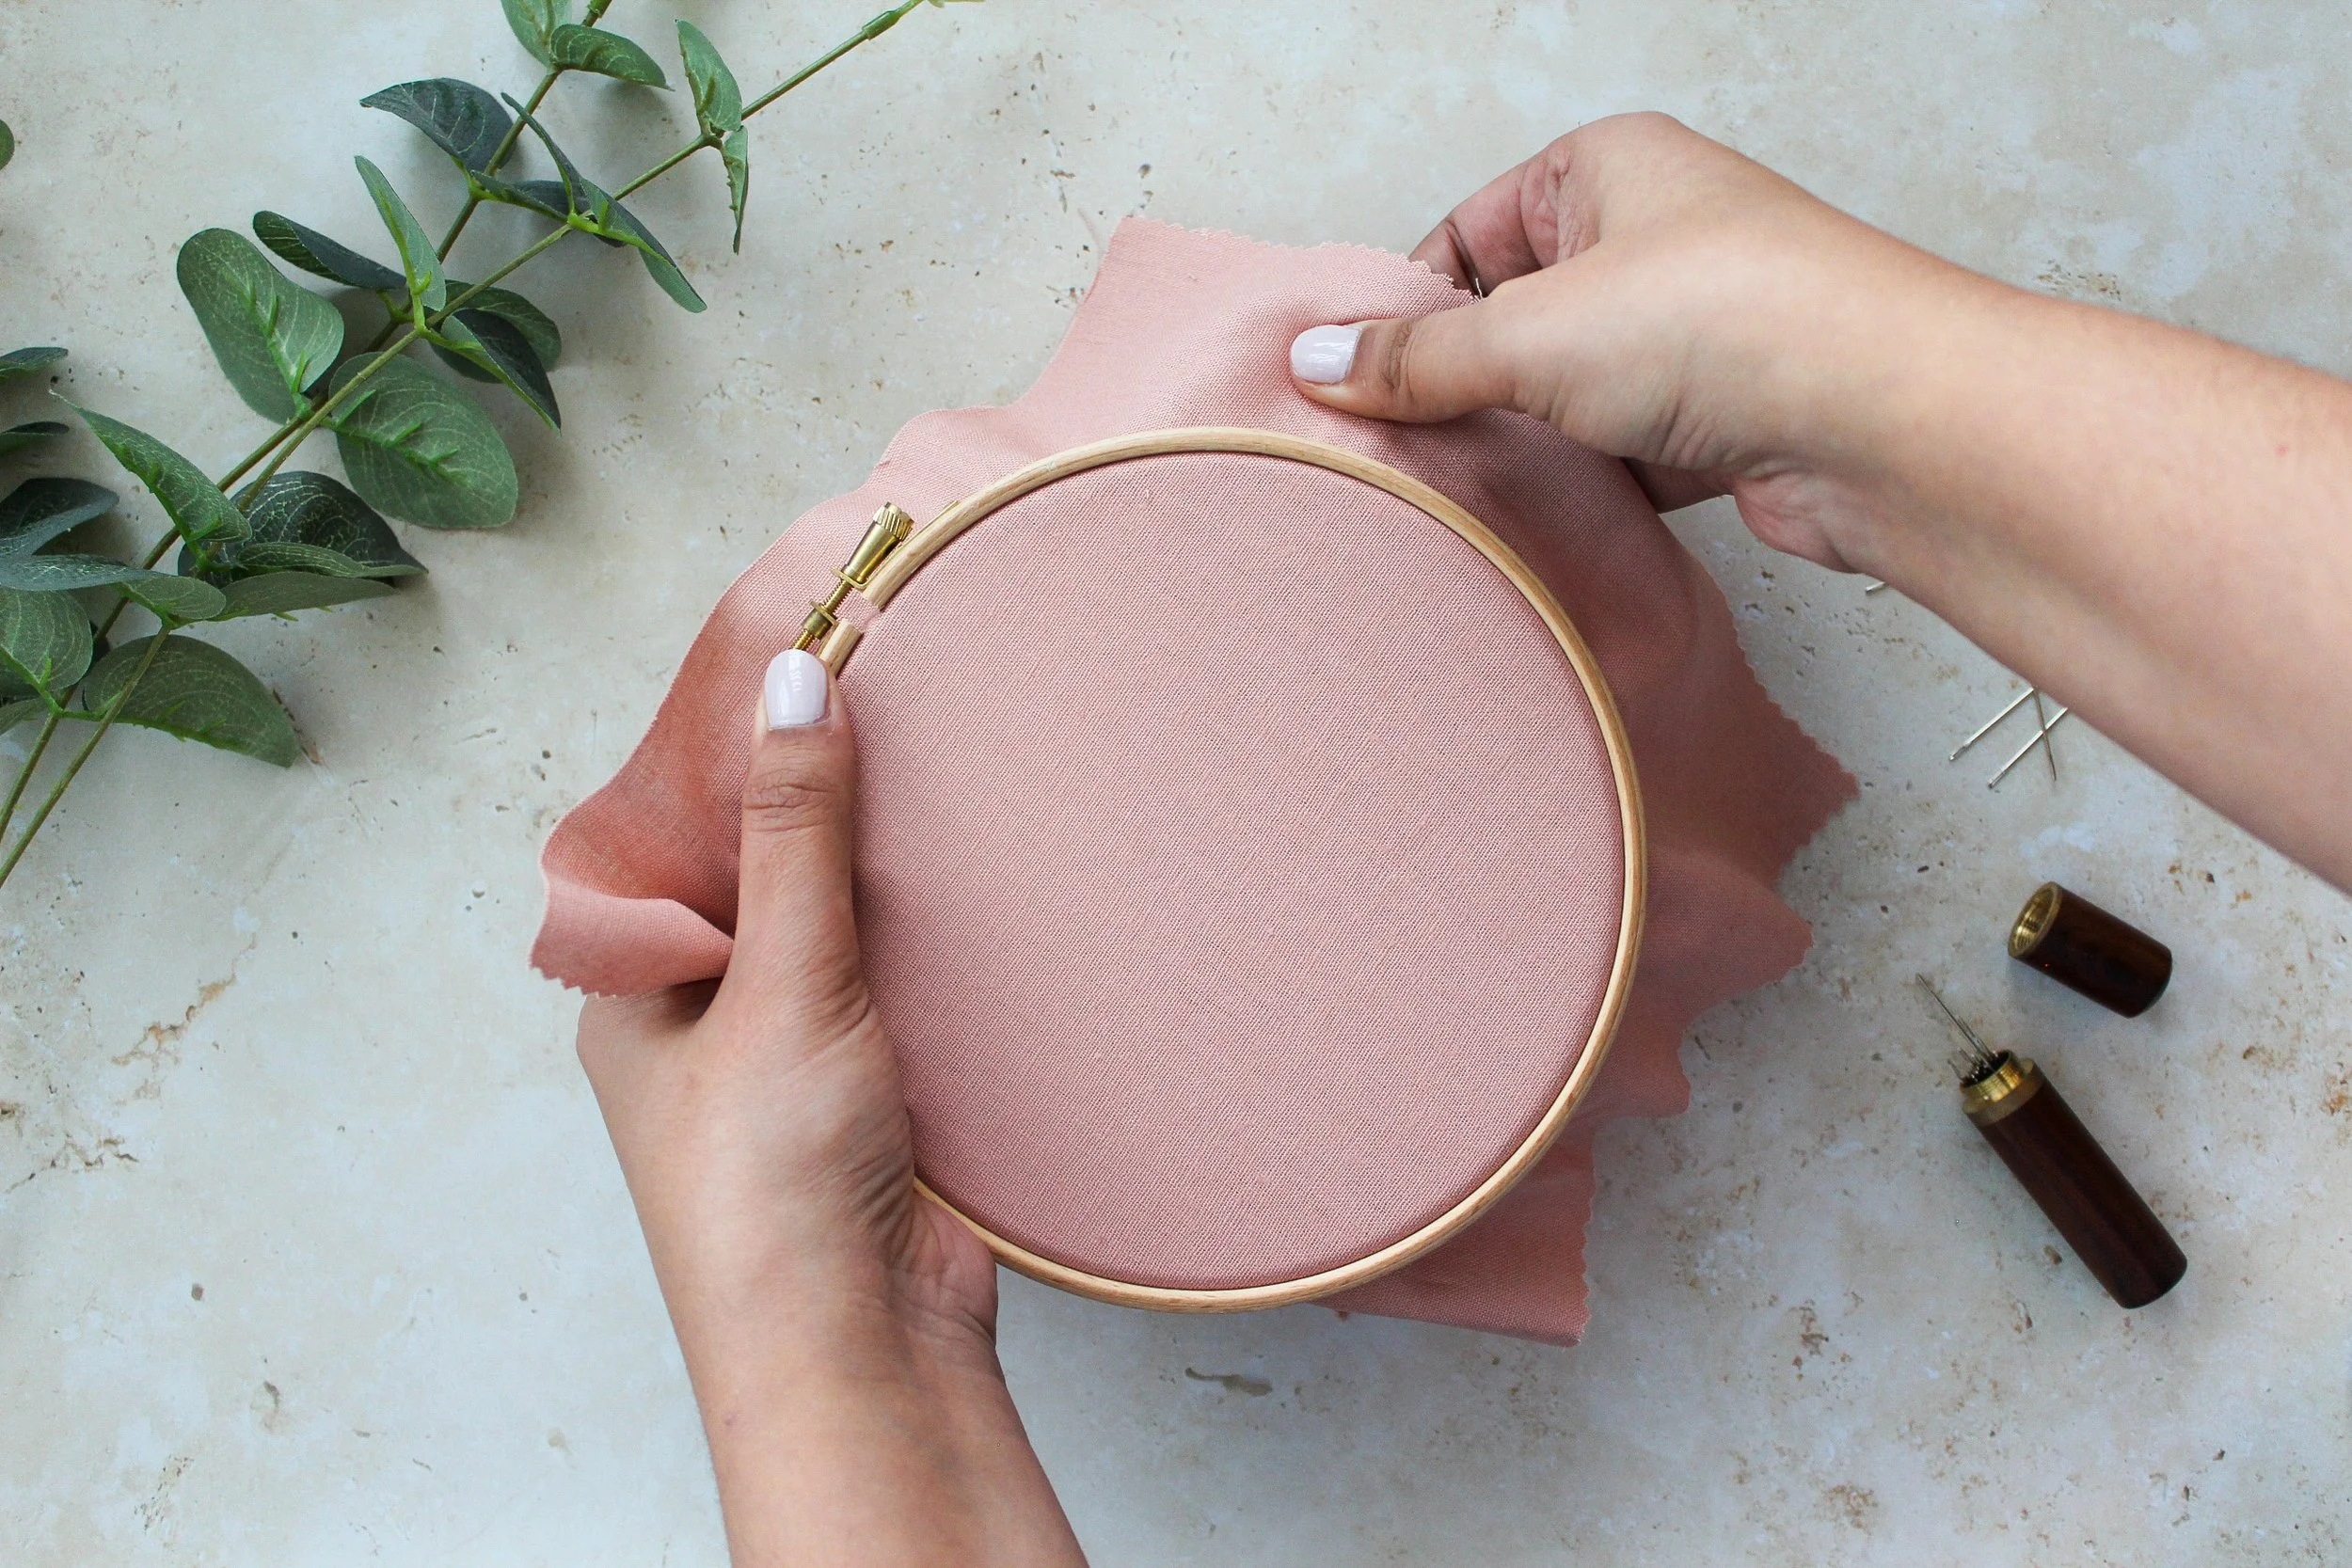
Once your fabric is secure. Tighten the hoop using the screw, then slowly and firmly pull the fabric to make it taught.
4.
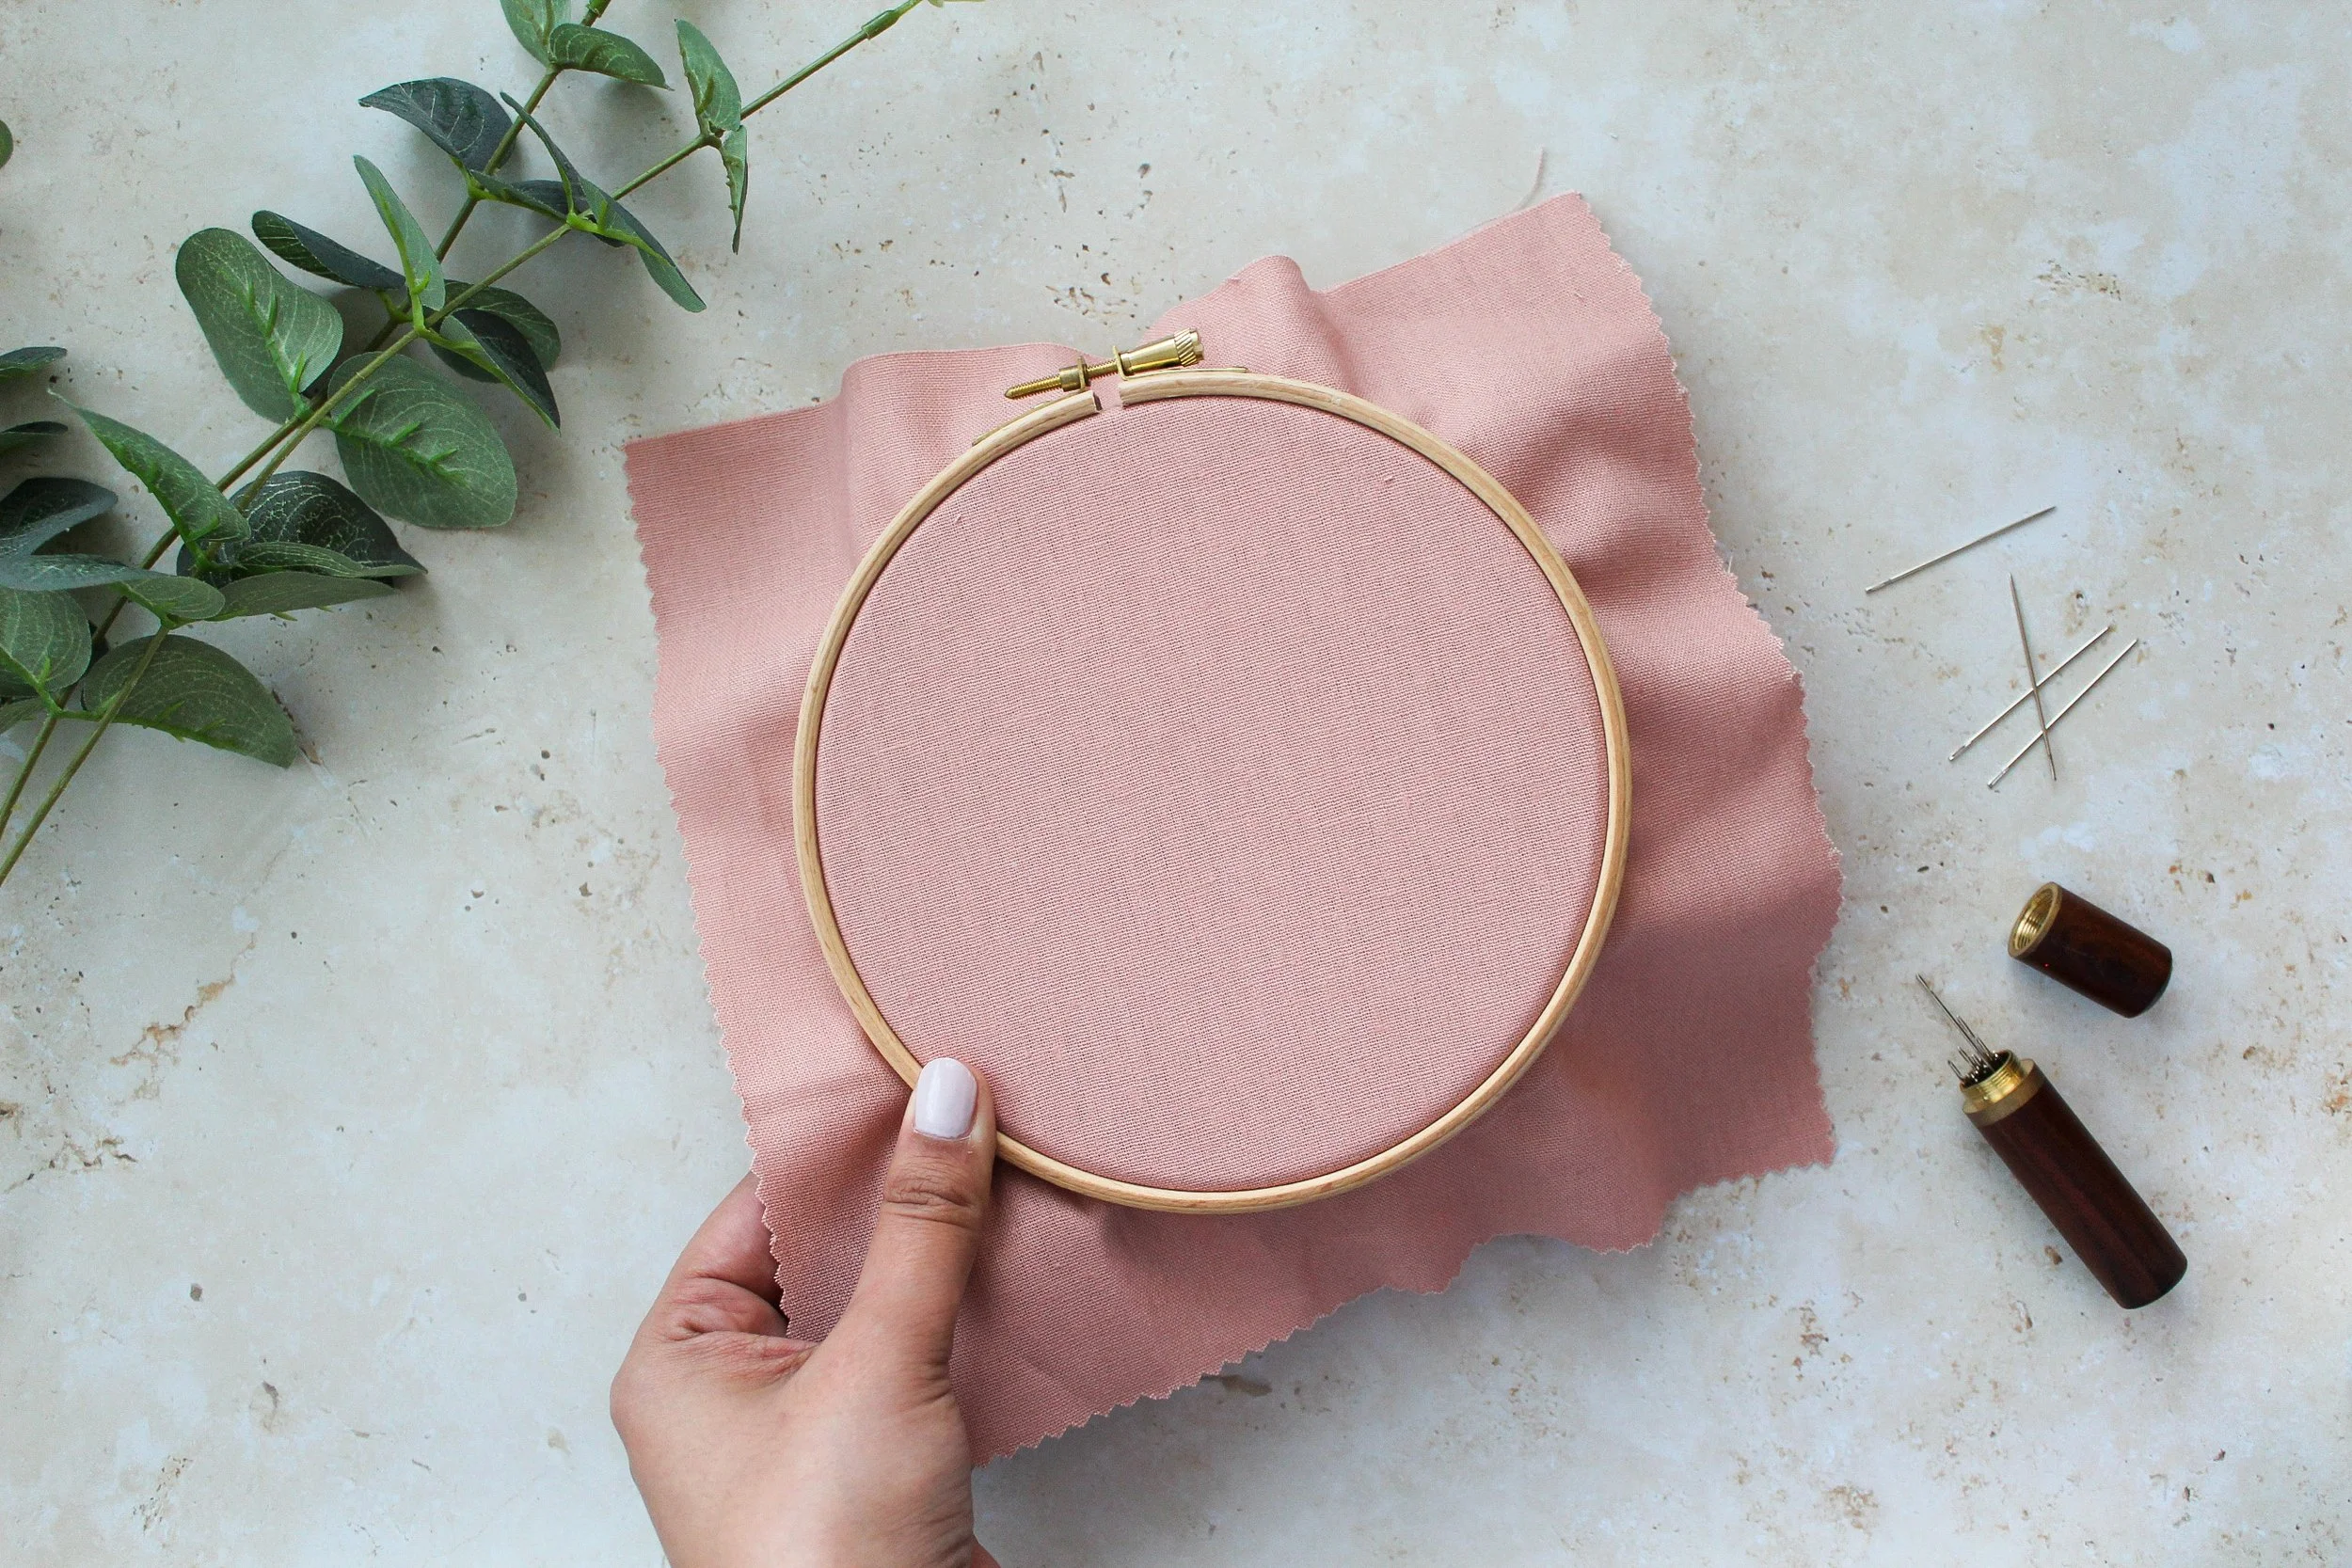
Once you are happy with the fabric is taught enough.
(It will sound and feel a bit like banging a drum.)
You are finished and can start sewing
Want to put this Post into practise?
Here are some of our Embroidery kits.
Don’t worry they all come with step by step guides to help you with the stitches you are unfamiliar with.


